Key control points for fastener heat treatment
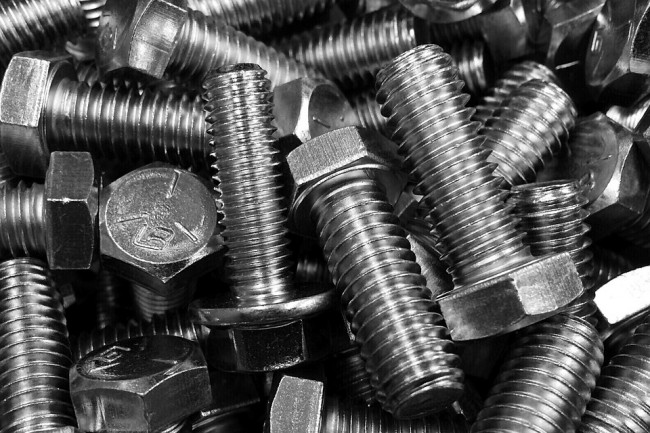
The insiders know that the heat treatment of the fastener can make it have a certain strength, good plasticity, toughness, etc., and then better used, while reducing the occurrence of slack and ensuring the quality and reliability of the fastener. In addition to general quality inspection and control, there are some special quality inspections and controls for the heat treatment of fasteners. Now let's talk about several control points for heat treatment.

1. Decarburization and carburization
In the mass production process of heat treatment, the metallographic method is also good, and the microhardness method is also good. It can only be timed sampling. Because of its long inspection time, the cost is high. In order to judge the carbon control of the furnace in time, spark detection and Rockwell hardness test can be used to make preliminary judgments on decarburization and carburization. Spark detection is to quench the over-fired parts. On the grinder, gently grind the sparks from the surface and the inside to determine whether the carbon content of the surface layer and the core are consistent. Of course, this requires the operator to have skilled skills and spark discrimination. The Rockwell hardness test is performed on one side of a hexagon bolt. First, a hexagonal plane of the quenched part is lightly polished with a sandpaper to measure the first Rockwell hardness. Then, the surface is ground to about 0.5 mm on the grinder, and then the Rockwell hardness is measured. If the hardness values ​​of the two are basically the same, it means neither decarburization nor carburization. When the previous hardness is lower than the subsequent hardness, the surface decarburization is indicated. When the previous hardness is higher than the latter time, the surface carburization is indicated. Under normal circumstances, when the hardness difference between the two is less than 5HRC, when the metallographic method or the microhardness method is used, the decarburization or carburization of the part is basically within the acceptable range.
Second, hardness and strength
In the detection of threaded fasteners, it is not possible to simply refer to the manual for the hardness value and fold it into the strength value. There is a hardenability factor in between. Because the national standard GB3098.1 and the national standard GB3098.3 specify the arbitration hardness is measured at 1/2 radius of the cross section of the part. The tensile test specimen is also taken from the 1/2 radius. Because it is not excluded that the central portion of the part has a low hardness and a low strength portion.
In general, the hardenability of the material is good, and the hardness of the cross section of the screw can be evenly distributed. As long as the hardness is acceptable, the strength and guaranteed stress can also meet the requirements. However, when the hardenability of the material is poor, although the hardness is acceptable according to the inspection of the specified portion, the strength and the guaranteed stress often fail to meet the requirements. Especially when the surface hardness tends to the lower limit.
In order to control the strength and the guaranteed stress within the acceptable range, the lower limit of the hardness is often increased. For example, the hardness control range of 8.8 grades is 26~31HRC for M16 and below, 28~34HRC for M16 and above, and 36~39HRC for 10.9. Level 10.9 or above is another matter.
Third, the tempering test
Bolts, screws and studs of class 8.8~12.9 shall be tempered according to the minimum tempering temperature in actual production and kept at 10 °C for 30 min. On the same sample, the difference between the average values ​​of the three points before and after the test shall not exceed 20 HV.
The tempering test can check the incorrect operation due to insufficient quenching hardness and too low temperature tempering to barely reach the specified hardness range, and ensure the comprehensive mechanical properties of the parts. In particular, threaded fasteners made of low-carbon martensitic steel use low-temperature tempering. Although other mechanical properties can meet the requirements, when the stress is ensured, the residual elongation fluctuates greatly, far greater than 12.5 um. And sudden breakage can occur under certain conditions of use. In some automotive and construction bolts, sudden breakage has occurred. This can be reduced by tempering with a minimum tempering temperature. However, special caution should be taken when manufacturing 10.9 bolts from low carbon martensitic steel.
Fourth, hydrogen embrittlement inspection
The sensitivity of hydrogen embrittlement increases as the strength of the fastener increases. For the externally threaded fasteners of 10.9 and above or the surface hardened self-tapping screws and the combination screws with hardened steel washers, the hydrogen removal treatment shall be carried out. The hydrogen removal treatment is generally carried out in an oven or a tempering furnace at 190 to 230 ° C for 4 hours or more to diffuse hydrogen. Threaded fasteners can be tightened by tightening on a special clamp to maintain the screw with a relatively constant stress, for 48 hours. After the loosening, the threaded fasteners will not break.
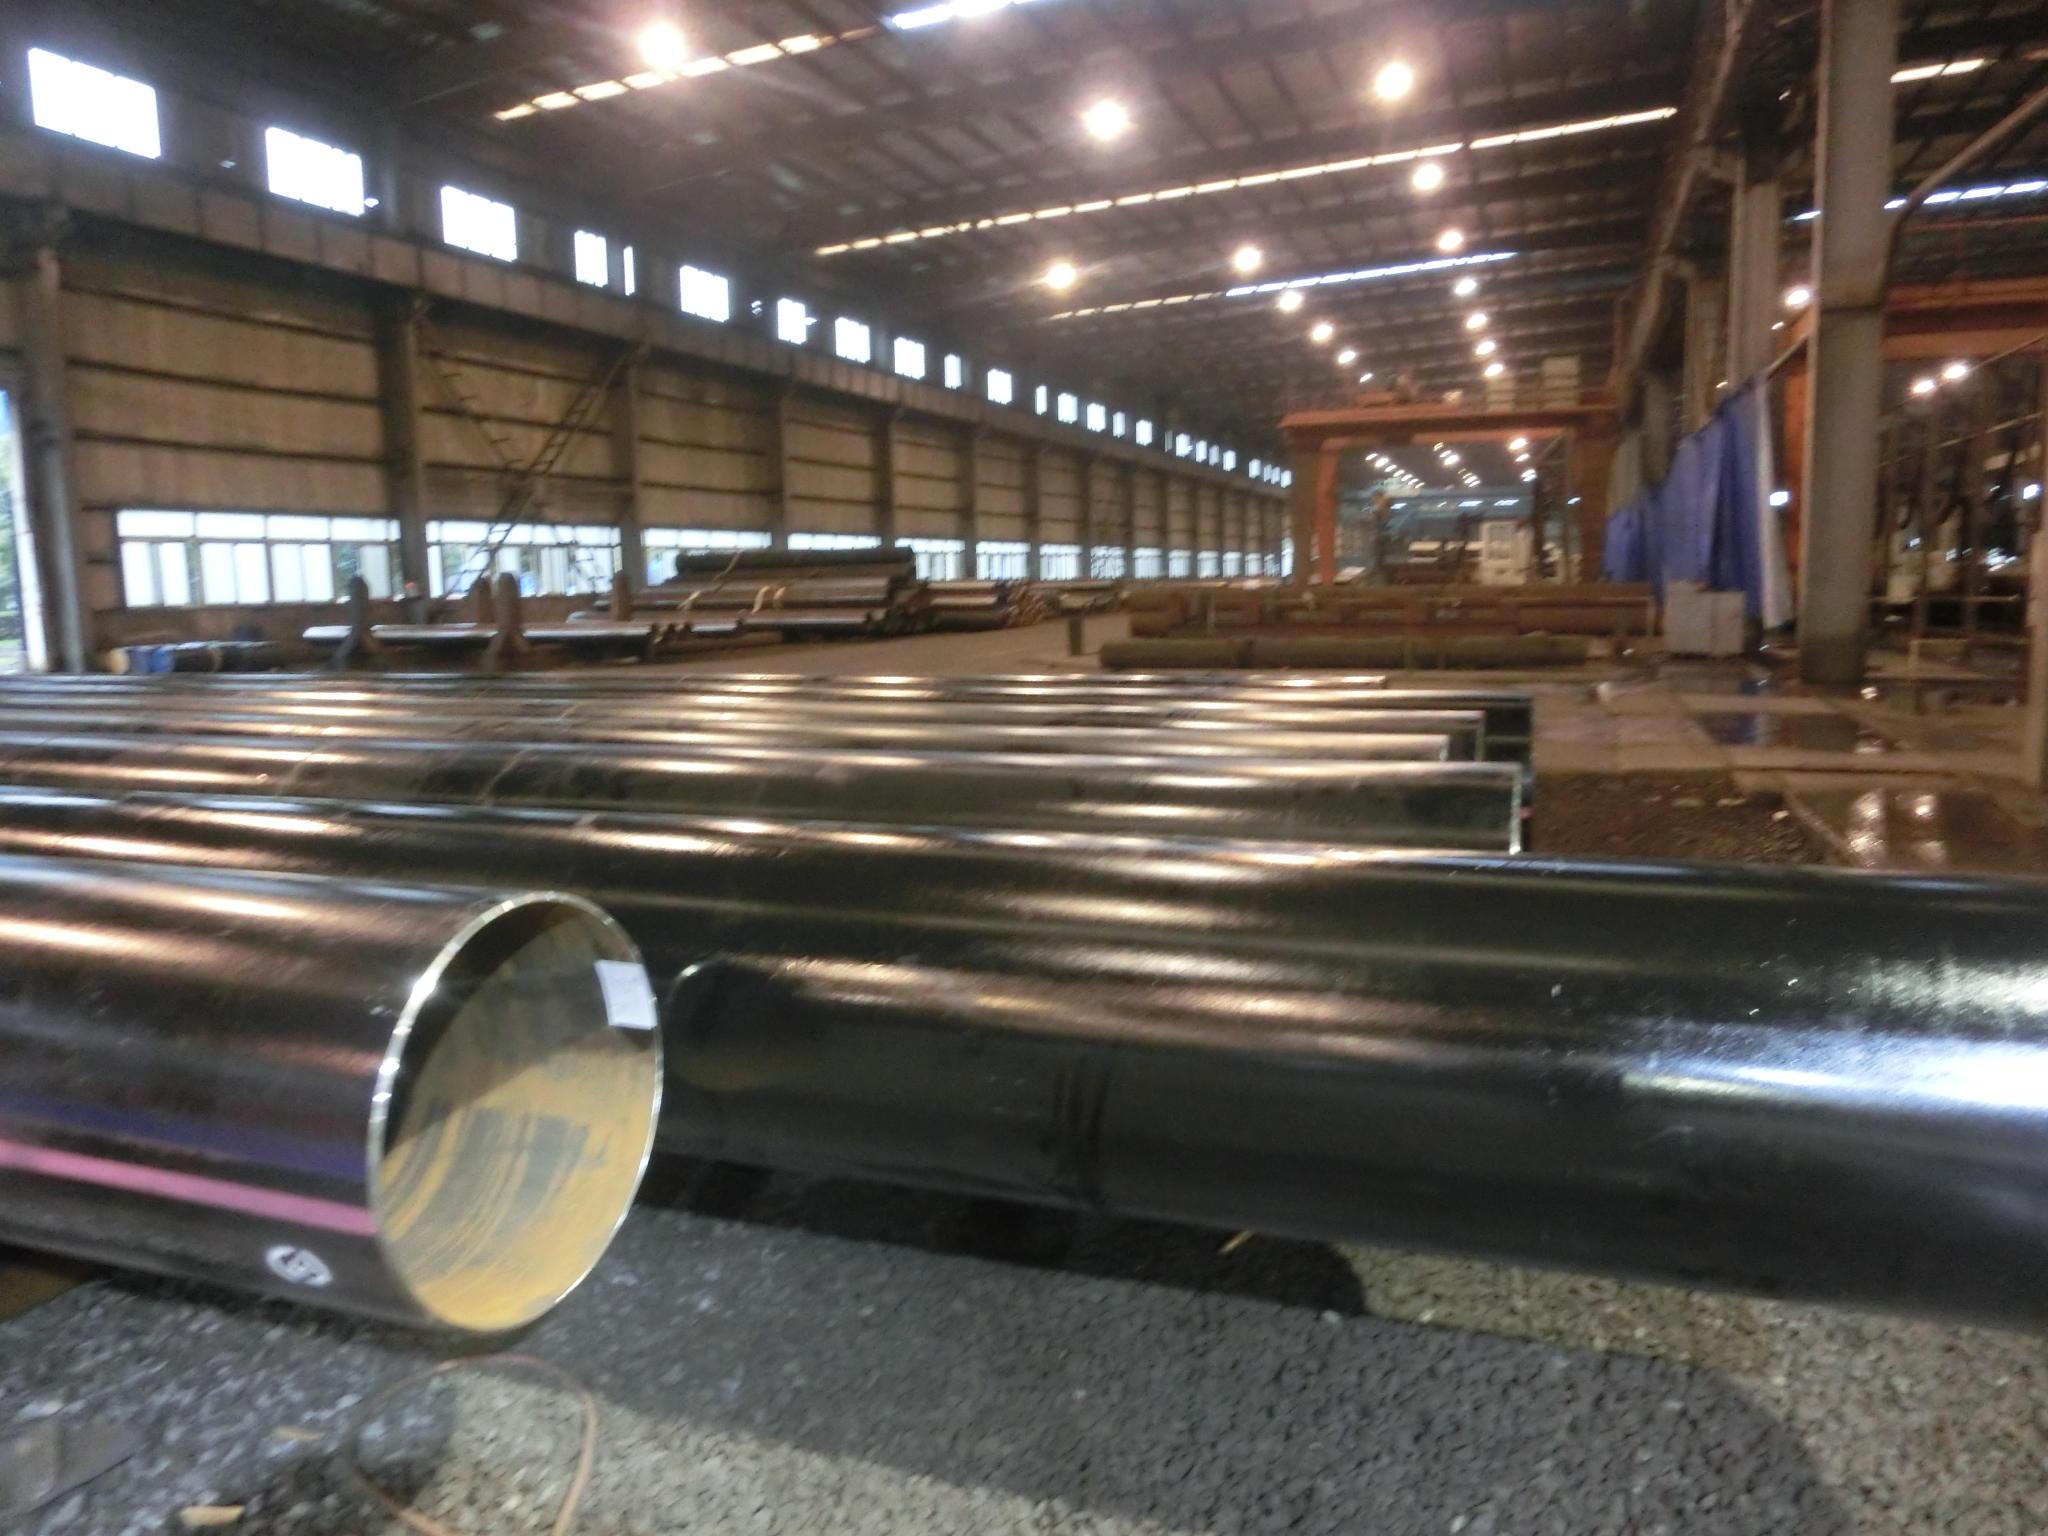
We can produce the A/SA106B/C steel pipes according to the ASME SA106 and ASTM A106 standards, and we have been sold about 250000 MT the oversea markets at recent 10 years. YC has been granted a number of approval certificate by international institutions, such as Nuclear pipe certificate, 914mm Cylinder certificate, API monogram and certificate, ISO9001 by TUV NORD, ISO14001/OHSAS18001 by CQC, approvals from Shipping Classification Bureaus like DNV, RINA, ABS, Lloyd, GL, Bureau Veritas, and permit of exporting to Europe as PED 2014/68/EU and AD 2000 certificates for pressure pipes, CPD (Construction Products Directive), etc.
Chengde have been working on the research.manufacture and sale of seamless pipe about 30 years, and the advantage of core competence is more prominent by integrate in technical.management and market with PCC.
1 The Piercing and rolling technology of Chengde possesses a number of patents in designing and manufacturing the equipment. The production is efficient and flexible, and the quality is stable.
2 The material grade is complete, and the size range is wide (three produce line can manufacture all non-standard sizes). The Minimum Order Quantity (MOQ) as low as ONE piece, and the date of delivery is short with excellent cost performance.
3 The sales and service team is professional and localize.

A106 Pipe,Asme Sa106 Carbon Steel Tube,Asme Sa106 Pipe,106C Pipe
YANGZHOU CHENGDE STEEL PIPE CO.,LTD , http://www.chengdepipe.com